Managing People Roles and Modules
When People, (or users), have been added to Automated Back Office, you can alter their details in the People screen and or their Roles for the relevant modules.
Updating a People Entry
You can update a People entry for a user that you have added to Automated Back Office. For example, you may want to correct their email address after verification.
-
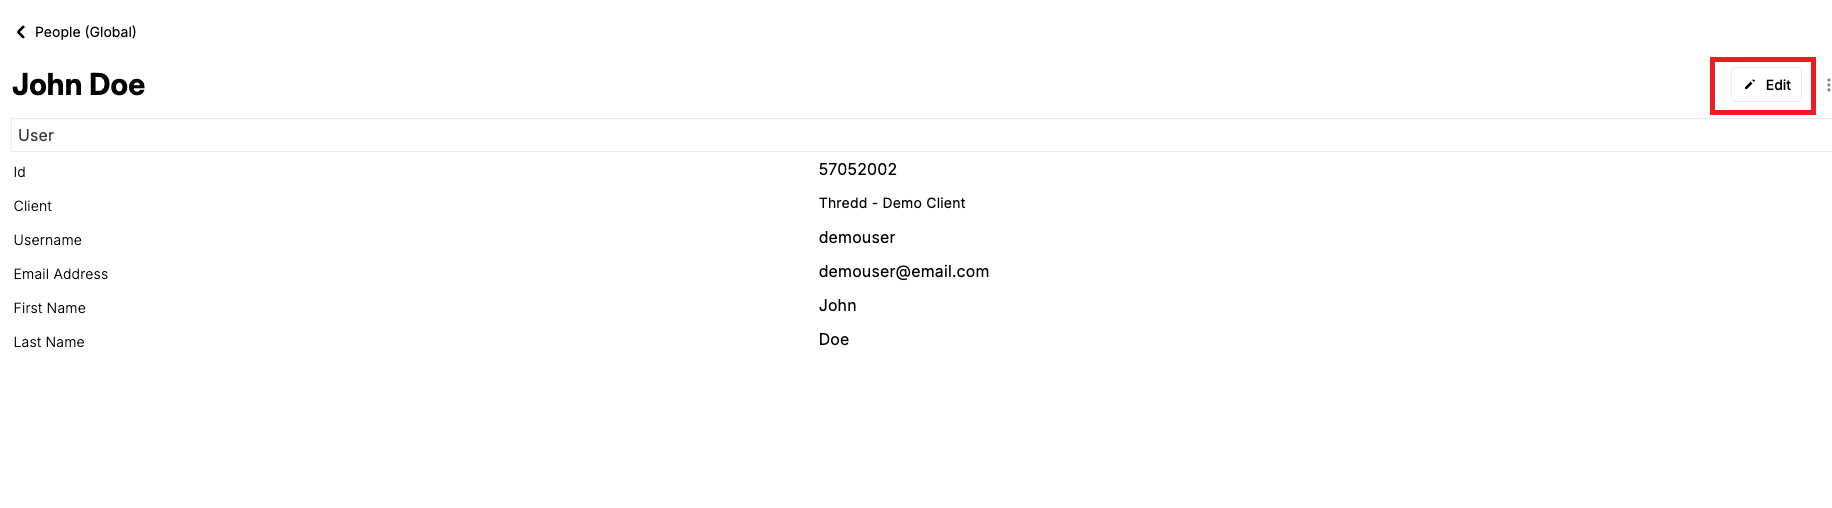
From the People screen, click on an a People entry.
-
From the full-screen view, click Edit.
-
Select a new client from the Client list or type in a new value in any of the fields.
Deleting a People Entry
You can delete a People entry for a user that no longer needs access to Automated Back Office.
-
From the People screen, click on a People entry.
-
From the full-screen view, click the
 button next to Edit.

-
Select Delete from the pop-up menu.
-
Click Delete in the confirmation message box.
Exporting People Entries
You can export People entries to the following formats:
-
CSV
-
JSON
-
XML
Export to CSV
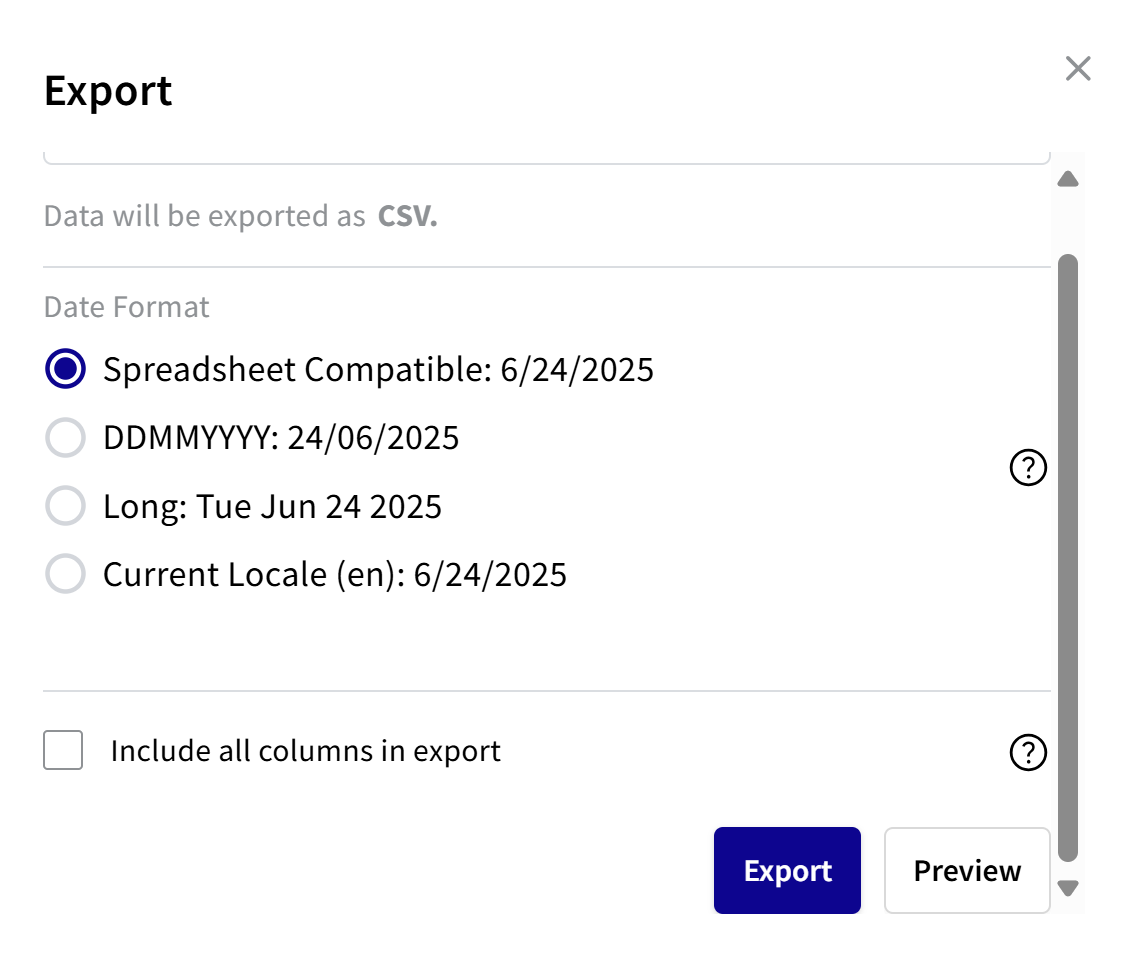
If you selected the CSV option, you can include the date format. You can also select the option for exporting all the columns that exist for a file, and not just those that appear in the People view.
To export to CSV:
- Choose a date format:
- For spreadsheet compatible, select Spreadsheet Compatible. See second note.
- For DDMMYYYY, select DDMMYYYY.
- For a long date format, select Long.
- For current locale, select Current Locale.
- To export all the columns in the file, select the Include all columns in export check box.
If you do not select the check box, you only export those columns that appear in the view.
- To preview, click Preview. The Response box shows how the date appears in the CSV file.
- To export, click Export.
Spreadsheet Compatible is where the date format is recognised by spreadsheets such as Excel and Google sheets for calculations, sorting, and formatting.
Export to JSON
If you selected the JSON export option, you can preview the export data.
- To preview the data, click Preview. The JSON response appears.
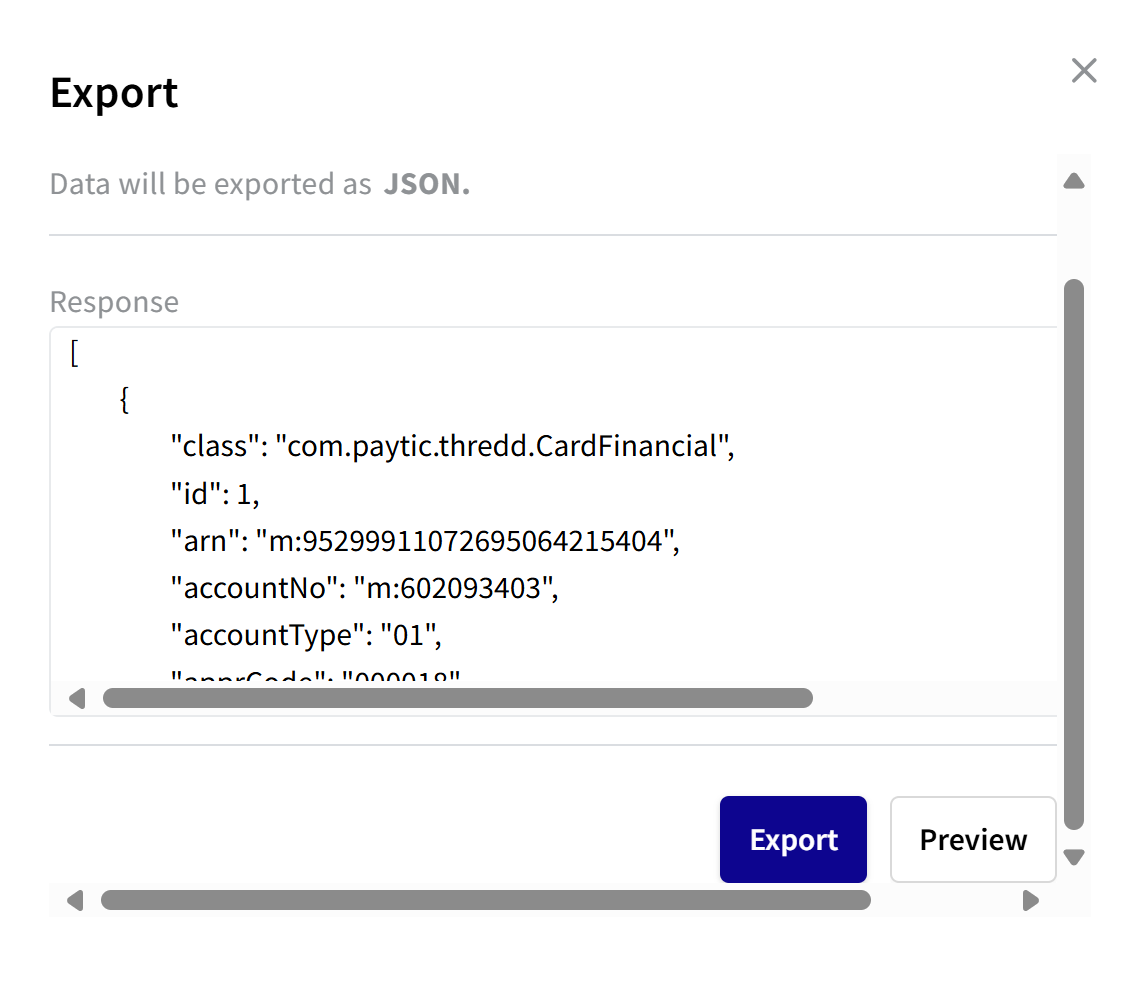
- To export, click Export.
Export to XML
If you selected the XML export option, you can preview the export data. Or, you can just export the data.
- To preview the data, click Preview. The Response box shows the report in XML format.
- To export, click Export.
Updating Role and Module Access
You can update existing Role settings for users that are already assigned to modules.
-
Open the Roles screen by accessing Control Center > Roles.
-
To update a Role entry, identify a user and select a different Role entry in the list of a module. The following shows an example.

-
To add a new Role entry for a module, identify a user and select a Role entry in the list. The module shows as ---.